
GT SolutionsAdvertisement

Create the baseline recording you will compare on Day 30.
In the video: Record an unrehearsed 60-second baseline. Rate yourself in five areas: clarity, fluency, confidence, organisation, connection. Pick one specific improvement target. No perfection, no accent elimination.
Your Day 1 Task: Record, Listen, Choose One Habit
Record one natural, 60-second answer. Your first recording is a starting point, not a performance.
Choose
Pick a familiar topic
Record
60 seconds, no restarts
Listen
Play it back once
Focus
Choose one habit
Audio stays in this browser and is never uploaded.
Loading Day 1 steps…
Saved on this device.
Understand
Day 1 of the challenge: record a 60-second unrehearsed baseline — an honest snapshot of how you speak today — rate yourself in five areas, and choose one improvement target for the next 29 days.
Official lesson
Points taken from the published video and its description on the official channel.
Put it into practice
Written by The Articulate Method for this website. It is extra practice around the video, not a transcript of it.
Before you practise, speak for 30 seconds on a familiar topic and listen for the confidence habit this lesson describes: “Create the baseline recording you will compare on Day 30.”
Speak the same 30 seconds again and apply the technique once, deliberately. One attempt is enough.
Run three short rounds of 20 to 30 seconds. Change the topic each round so your attention stays on the confidence technique, not the words.
Record 60 seconds in one take. Do not restart after a mistake, and do not delete the file.
Listen once. Name one observable change, and one place today where you will use it in a real conversation.
Choose a topic and speak naturally for 60 seconds.
Pick a familiar topic. Don’t memorise a script. Don’t restart after mistakes. Save your first genuine attempt.
Microphone off. Permission is requested only when you press Start Recording.
Audio stays in this page’s memory; it is never uploaded. Download it to keep it after leaving or refreshing.
Listen to your recording and complete the rubric. Focus on observable behaviours.
Five criteria, not a score out of five or a clinical assessment. Review only what you can actually hear.
Focus on one goal to make your practice effective.
A simple process to review your recording.
Play your recording once.
Notice one key feature.
Write exactly what happened.
Select one improvement.
Decide what to practise next.
Understand your starting point
How a conversation felt is not always the same as what a listener could hear. A recording lets you revisit the evidence and turn a broad judgement into a practical next step.
A single sample cannot establish your overall language ability, personality, intelligence or confidence. It gives you one useful observation to practise.
Select a familiar topic.
Think of your main idea, not a script.
Speak naturally for 60 seconds.
Keep going after a hesitation.
Download your original recording.
Identify one observable habit.
Sit or stand with supported feet, release your shoulders, and breathe out gently. For a 30-second warm-up, answer: “What is one skill I use often?” Use one pause and continue if a word disappears.
Voice safety: Stop if you feel pain, strain or dizziness. Seek qualified professional advice for persistent vocal pain, voice loss, hearing difficulty or concerns about stuttering.
Prepare three short points. Use ‘First… Second… Finally…’ and focus on completing your message.
Use a main idea, an explanation and an example. Focus on organisation and natural pacing.
Speak without notes. Include a clear argument, one example, a deliberate pause and a complete closing statement.
These are practice adaptations, not official CEFR assessments or language-level certification.
Try one deliberate pause before answering a question today. For a meeting, record a project update; for an interview, explain a relevant experience; for a client call, explain a recommendation. Keep each sample to one minute and avoid confidential details.
Explore articulation exercises for adults →Keep the original audio. Repeat the same or a comparable prompt with similar preparation, microphone position and environment. Review the same five criteria and compare observations—not an overall percentage. One improved attempt is not proof of a permanent change.
Save a comparison note: Date → Topic → Day 1 observation → Day 30 observation → Next practice focus.
Explore the full 30-day curriculum →To review a speaking recording, listen once for the overall message, then review one or two specific features. Note what you actually heard, identify something that worked, and choose one adjustment for your next attempt.
Start with a short recording—around 30–60 seconds is enough for this exercise.
Instead of asking, “Do I sound good?”, ask:
“Could a listener understand my point, and what would make it easier to follow?”
That question gives your review a practical purpose.
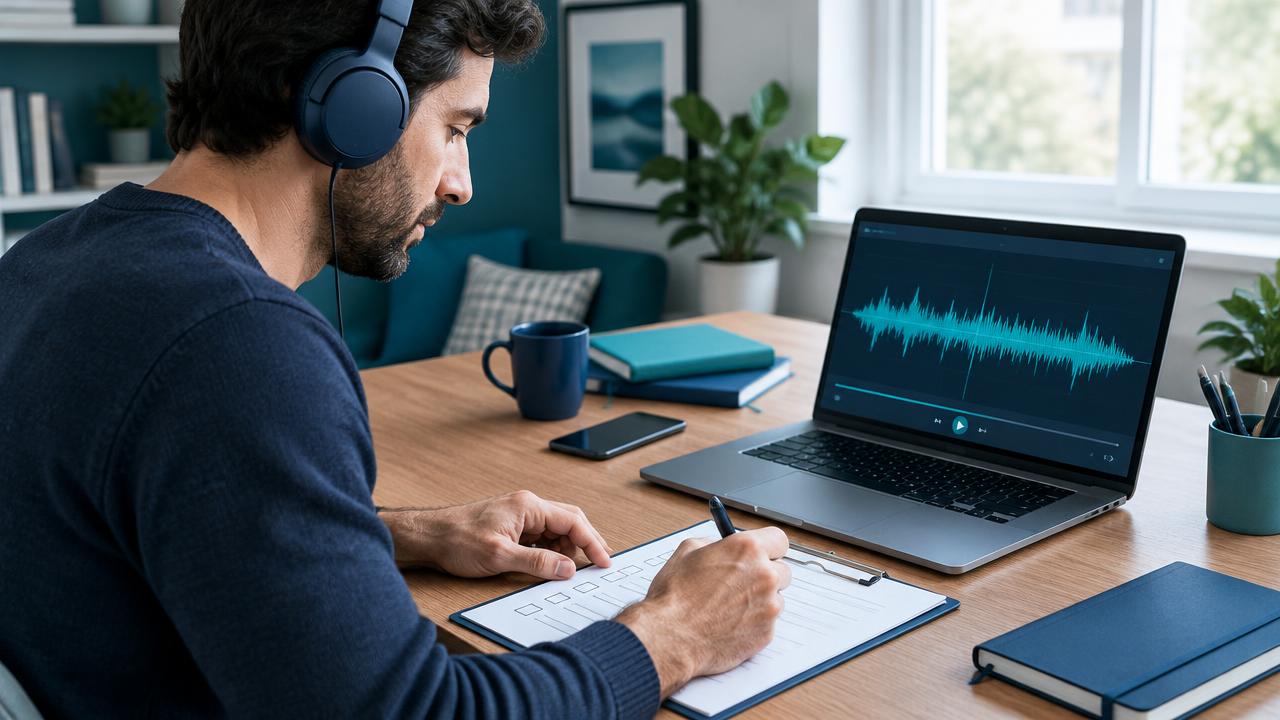
A recording lets you return to a specific moment and listen again.
You can check whether:
It cannot reliably reveal your intelligence, personality, or internal level of confidence. A quiet phrase is an observable feature; “I am a weak communicator” is a much broader judgement.
Toastmasters recommends evaluating the speech rather than the person and paying attention to the speaker’s improvement goals. The same distinction is useful when reviewing yourself. Toastmasters: How to Evaluate Effectively
Also remember that a recording captures a particular task, environment, and microphone setup. It is one sample, not a complete picture of how you communicate.
Choose a familiar prompt:
Record one continuous answer. If you hesitate or correct yourself, continue so you can review how you recovered.
Keep the practice private and avoid including confidential information. Recording yourself alone is sufficient; you do not need to record other people.
Before reviewing, check the audio quality. If the microphone is too far away or background noise covers your words, fix the recording conditions before drawing conclusions about your delivery.
Watch Vinh Giang’s video on reviewing your communication on YouTube.
His published record-and-review explanation separates attention to vocal delivery, visual presentation, and the words used. That separation offers a useful principle: you do not need to assess everything at once. Vinh Giang’s explanation
Use the video as an optional companion. This article’s short checklist is original supplementary practice, not a transcript of his method. It does not promise a particular ranking or speed of improvement.
After watching, choose one question to investigate in your own recording, such as:
“Where did my pace make the explanation difficult to follow?”
Video credit: Vinh Giang.
Here, “five-point” means five review criteria. It is not a validated assessment or a score out of five.
For each criterion you review, use one of these labels:
Add a short note or timestamp explaining your choice. You do not need to review every criterion in every session.
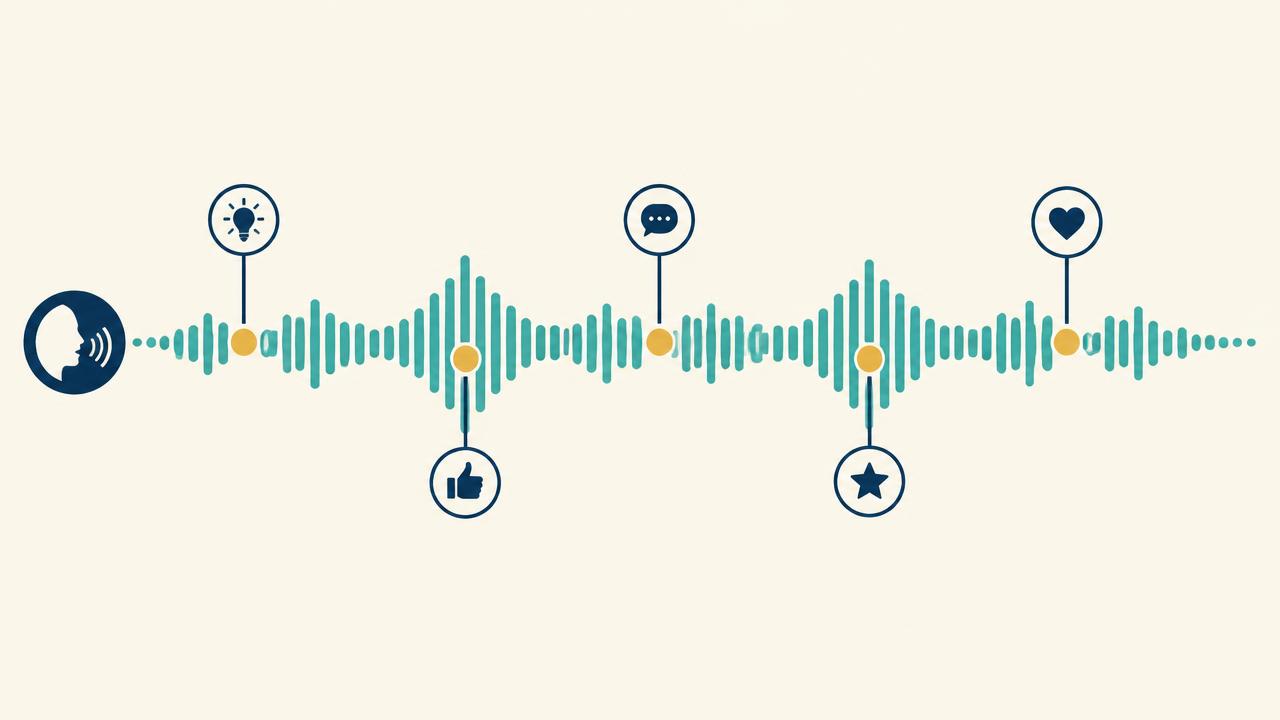
Question: Could I understand the important words and phrases?
Listen for information the audience needs: names, dates, actions, contrasts, and key terms.
Useful observation:
“At 00:18, I could not clearly hear the deadline.”
Possible next step:
Repeat that sentence with the final phrase at an audible volume.
Do not assume an accent difference is an error. Focus on whether the intended words are understandable in context.
Question: Did the timing help the listener follow the ideas?
Listen for rushed sections, useful breaks, and places where several ideas run together.
Useful observation:
“At 00:25, I listed three actions without a pause between them.”
Possible next step:
Practise the list with a small break between each action.
There is no single ideal speaking speed for every audience and task. Consider the complexity of the information, not just the number of words per minute.
Question: Was the main point easy to identify?
Check whether the listener knows what you are explaining before receiving detailed background.
Useful observation:
“I described two meetings before stating my recommendation.”
Possible next step:
Begin with the recommendation, then explain the relevant reason.
Organisation is about the relationship between ideas. A shorter answer is not automatically a clearer one.
Question: Was the message audible, and did I complete my thoughts?
Listen to the beginning and end of sentences. Notice whether a sentence stops before the point is expressed.
Useful observation:
“My final sentence stopped after ‘what we could do is…’.”
Possible next step:
Prepare a complete closing sentence and practise saying it once.
Describe what happened rather than inferring why it happened. “The last phrase became quieter” is more useful than “I sounded insecure.”
Question: Did I give this audience enough context to understand why the message mattered?
Look for unexplained terms, missing context, and examples that help the intended listener.
Useful observation:
“I used the project abbreviation without explaining it.”
Possible next step:
Use the full name the first time, or replace it with a familiar description.
You cannot determine whether an audience felt connected from a solo recording alone. You can review the choices you made to help them understand.
A review becomes actionable when it names a feature you can practise.
| Vague judgement | More useful observation | Practice action |
|---|---|---|
| “I sound terrible.” | “The last few words are difficult to hear.” | Repeat the final phrase at a comfortable, audible volume. |
| “I ramble.” | “I give the same reason three times.” | Keep one clear explanation and one example. |
| “I speak too fast.” | “The list of steps runs together.” | Add a short pause between the steps. |
| “I sound boring.” | “I give several facts without explaining their relevance.” | Connect the most important fact to the listener’s decision. |
| “I use too many fillers.” | “Several fillers appear while I search for the next example.” | Prepare a brief example cue and practise the transition. |
| “I look nervous.” | “I keep looking away from the screen while reading my notes.” | Move the notes to a more useful position and check the full recording. |
The observations above are examples, not automatic diagnoses. Use only those that match what you actually hear or see.
Imagine a fictional recording of a short meeting update:
“We’ve been working on the guide, and there have been quite a few changes. I spoke to support on Tuesday, and we discussed the setup steps. There are still two things to check, but most of it is ready. I think we probably need someone from engineering to look at it, so…”
A focused review might be:
Something that worked:
“I identified that the guide is mostly ready and that two items remain.”
Evidence to review:
“The request for engineering appears only at the end and does not specify what they should do.”
One next step:
“State the status first, then make a clear request.”
A revised version could be:
“The guide is nearly ready. Two setup steps need a technical check. Could someone from engineering review those sections by Thursday so I can complete the final version?”
The revised example adds a proposed deadline, which would need to be appropriate and agreed in a real situation.
Now review the new recording against the chosen goal:
“Is the request clearer?”
You do not need to judge every aspect of the second attempt.
Play a short recording once without stopping.
Write one sentence:
“The main point I heard was…”
If the main point is difficult to identify, that may be a useful organisation focus.
Select clarity, pace and pauses, organisation, delivery, or connection.
Choose based on the task. For a meeting update, organisation may matter most. For spoken instructions, clarity and pacing may deserve attention.
Replay the relevant section.
Write one observation with a phrase or timestamp. Avoid listing every imperfection.
Complete:
“On my next attempt, I will…”
Make it specific enough to test.
For example:
“State the recommendation in my first sentence.”
Record the short section again.
Listen for the chosen change. Keep both attempts if you want to compare them later.
For a useful comparison, keep the task reasonably similar:
If you read one attempt from a script and improvise the next, note that difference. If you change rooms or microphones, changes in loudness may reflect the setup.
Do not assume one improved attempt proves a permanent change. Try the skill again with a new topic and in a relevant conversation.
You can keep a simple record:
Date → Task → Observation → Next practice focus
There is no need to calculate an overall percentage.
Start with one general listen and one targeted replay if needed. Repeated listening is only useful when it helps answer a specific question.
Audio is enough for wording, organisation, pace, and audibility. Video can help when your goal involves camera framing, visible materials, or gestures. Choose the format that fits the task.
Begin with a brief section and a factual question, such as whether the main point is clear. If reviewing immediately feels unhelpful, take a break and return later.
No. Notice whether repeated fillers interfere with the message or a transition you want to improve. Occasional hesitation is not a reason to restart an otherwise useful answer.
Yes, as an aid for reviewing wording and repetition. Check it against the audio: automatic transcripts may mishear words, add punctuation, or omit hesitations. A transcript alone cannot show your full delivery.
Yes. Give them a specific question: “Could you identify my recommendation?” or “Which phrase was difficult to hear?” Their response is more useful when it relates to your practice goal.
This rubric helps you review a short recording made on your own device. Five-point means five review criteria, not a validated assessment or clinical score.
Your entries are cleared when you leave or refresh this page.
Do not calculate an overall percentage, diagnose speech, or infer confidence or personality from vocal characteristics.
A print-ready page with today's goal, the lesson's key points, and space to record and reflect.
Your next step
Your completed days are saved on this device, so you can return to the next unfinished lesson.
Sponsors & paid partnerships
Connect your brand with our growing professional audience through sponsorships, strategic partnerships, featured content and industry articles.